¶ Main Setup

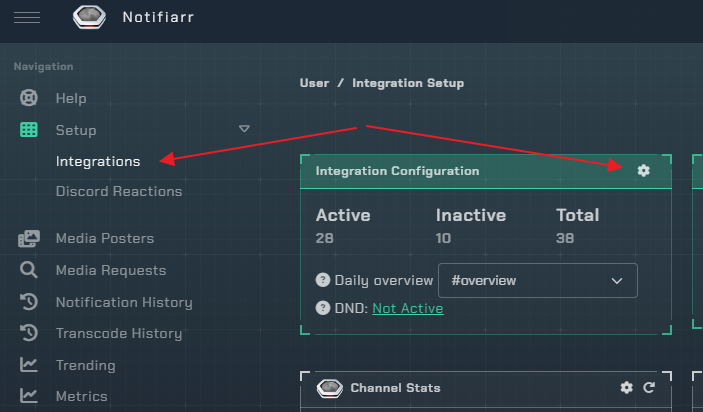
- Open the integrations page
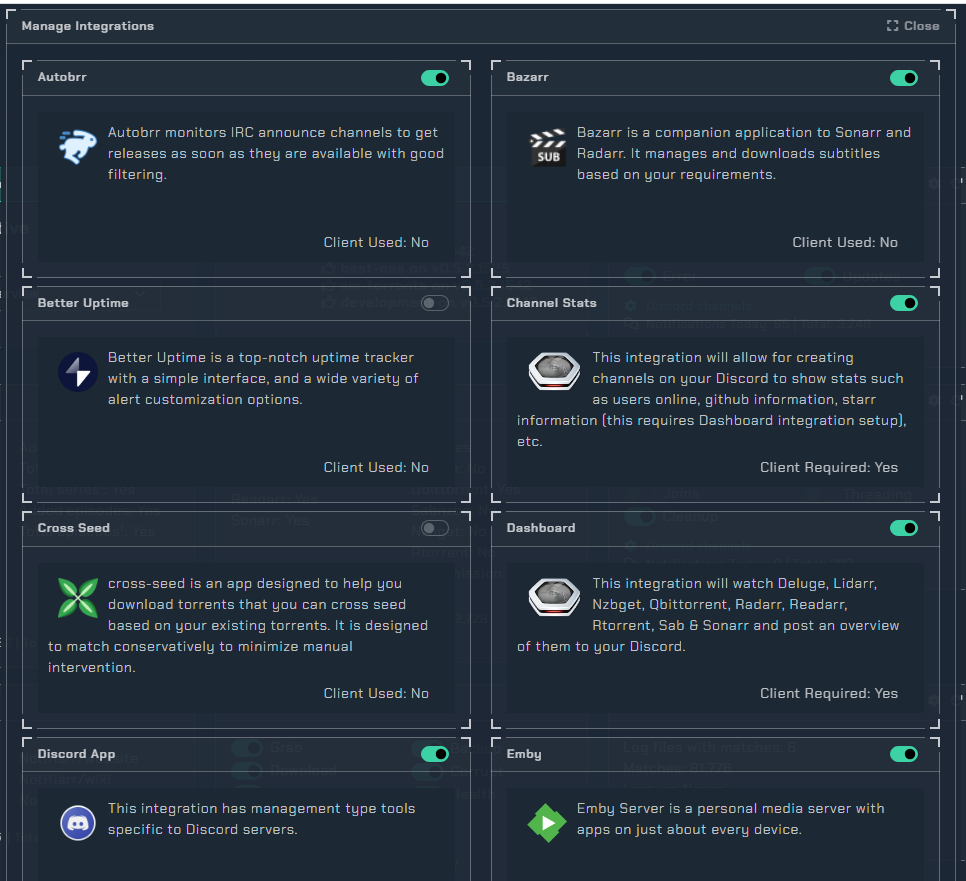
- Click the cog wheel (Card view). All available integrations have to be enabled before they can be used.

- Once you open the
Integration Configuration you only need to toggle on/off what you want to use.

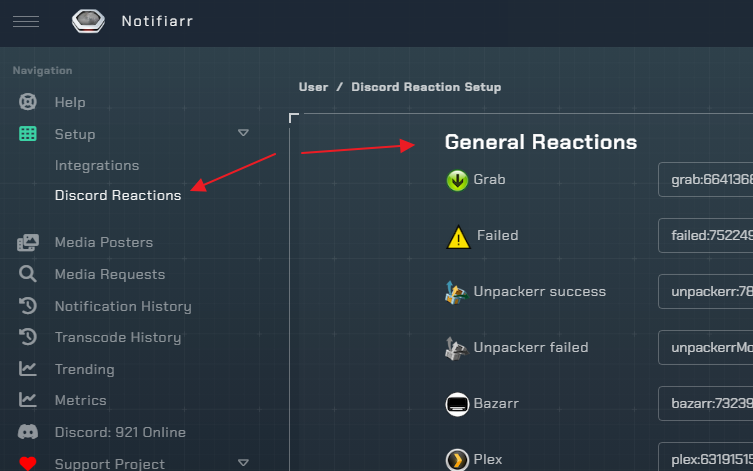
- You can use any emoji you prefer for reactions, however, if you would like to use the existing set of emoji provided by Notifiarr, visit https://notifiarr.com/user.php?page=setup&grab=reactions and save the .zip file.
- After extracting the contents of the zip file, you can choose which emoji you would like to use by uploading them to your Discord server.
- Once you've uploaded the emoji you want to use, you will need to find the emoji's ID for your server. To do this:
- Go to any channel on your server and type
\:emoji_name: (replace emoji_name with the actual name/alias you are using for the emoji when you uploaded it to your server) then press Enter.
- You will see a message in your chat that looks like
<:emoji_name:1069872535814496896>. In this example, emoji_name represents the name/alias of the emoji, and the string of numbers after the colon is the emoji ID.
- Copy this value, without the brackets or leading colon (in this example, you would copy
emoji_name:1069872535814496896) and paste the results in the Discord settings field that corresponds to the reaction you are using the emoji for.
- This should only be an issue if you linked your Discord account to Notifiarr before creating the server.
- If you created the server after you already authorized your account, give it 5 minutes and re-authorize so it re-fetches the server list.


