¶ Notifiarr Client - Cloudflare Configuration
None of this is required or necessary. We recommend NOT exposing your
Notifiarr client to the Internet at all. In other words, don't do any of this. But you can if you want to access your local Notifiarr Client from the internet
Many users use Cloudflare's "Cloudflare Tunnel" feature or additional Cloudflare security features to provide / protect external access to their Notifiarr Client box. Specific configuration required for Cloudflare's various options are detailed below.
¶ Cloudflare Tunnel
This assumes that you already have a Cloudflare Tunnel set up on your system. If you want to get started with Cloudflare Tunnels follow this YouTube guide first: Cloudflare Tunnel: Creating Tunnels via GUI - Bypass CG-NAT
by IBRACORP
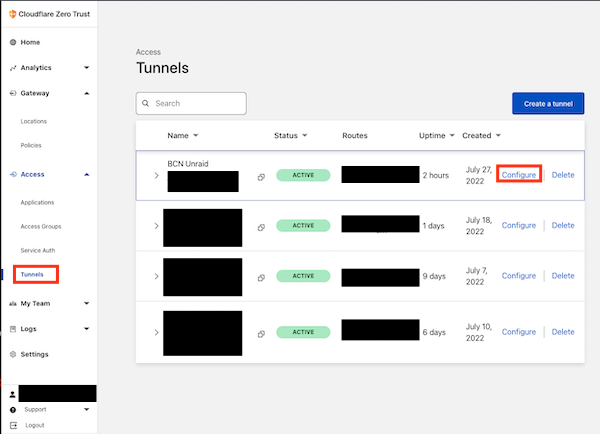
- Login to your Cloudflare teams account at dash.teams.Cloudflare.com
- Click Tunnels and then configure next to the Cloudflare Tunnel you would like to use
- In your Tunnel section click on Public Hostname and add a new hostname by clicking on Add a public hostname
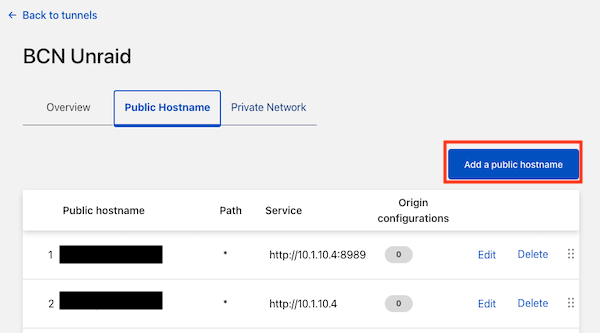
- Fill in the public hostname information
Subdomain: Notifiarr (or whatever else you want it to be)Domain: choose one of your domainsService: HTTP + Your Local IP Address for Notifiarr

- Save Hostname
That's it! Your client is now exposed to the internet!